
A simple and precious dress for a lovely day!
Want to see how it was done?
1. Gather your material. I used three colors of fabric: white, pink and red for a more festive feel. I used cotton, broadcloth and whatever I had in my stash, or had gotten from the remnant bins at the fabric store so I don't always know what kind of fabric I am using. I did make sure they were similar in texture.

2. Measure your child or grab a shirt from their closet.
Measurements for this particular dress were:
White fabric: 10.25 inches (top) by 12 inches (bottom): 5.5 inches long
Pink fabric: 13.25 inches (top) by 14.75 inches (bottom): 4 inches long
Red fabric: 15.5 inches (top) by 17.25 (bottom): 4.5 inches long
This would probably fit a baby that is between 6 months and 12 months old. My almost 21 month old was slightly too big for it and she is on the smaller side, but it would fit a smaller baby just right. And it was too short for her. An error on my part.
3. Cut fabric. Two pieces of each color for front and back panels. (For the white fabric I cut four pieces, two for each side, to make it a little less see-through).


*Tip: When cutting your angle make sure the straight sides line up and are not stagerred like mine are in the picture on the left. Make sure you start your cut on the white fabric at the top at the length you want the top to be or slightly bigger based on your measurements and additions. Make sure your angle cut is slanted enough so that the other fabrics will be cut big enough for your child to fit into it at the chest, waist, and hips.
4. Serge fabric. (You can do this after sewing, but I like to do it first to give me a good line to follow when sewing the seams. It helps me, I think. If you don't have a serger you can use your zig zag stitch and sew along the edges or your fabric to keep them from fraying over time. If you sewing machine has an overlock stitch, that will work, too).


5. Sew the side seams of each white panel using a 1/4" seam allowance. (This will not be sewn to the back panel to allow room for arms and for added roominess). Then, pin and sew panels together.


6. Iron seams down. Very important to always iron your seams.

7. Match front and back pieces, right sides together starting/stopping at the white fabric, and sew the side seams. Iron seams.


8. Trim dog ears on red fabric. (Dog ears-the little triangle thingies that sometimes stick out at the bottom of fabrics).

9. Iron a hem and then sew it in place.


I did a 1/4 inch hem and then an 1/8 inch hem for the added sturdiness and because I like the way it looks. I used the regular white thread I used throughout the project to give it some contrast, but you can use matching thread if you want the hem line to be hidden.


11. String ribbon. (The ribbon is a little long in the picture because I didn't want to cut this particular ribbon until I was sure it was the one I wanted to use).

The end.
You can admire your work.
Try it on your child.
Or start over as I did because the first two I made didn't work out the way I wanted. Third times a charm right? Hopefully it will be big enough for her and not too long or too short. Either way they still turned out ok. Definitely need to improve my sewing skills with this one, but that is what it is for. It's all about learning and trying and doing, and sometimes even redoing.

This is the first one I made. It was too small in the chest area and too long; so for the second one I made it bigger and shorter. (The one in the tutorial). It ended up being still a little too small in the chest area and shorter than I wanted it. The third one should turn out just right.
Maybe.
Hopefully.
..............................To be continued...........................................................

This is the first one I made. I reconfigured it to make it shorter. The proportions look a little better. Don't look too closely though, there are plenty of mistakes, but it is still cute.
..................................To be continued, continued.............................................
Well, it seems that the third time really is the charm! The third try in this project finally yielded a result I could be happy with.


Then, I put it on the girl. She wasn't happy about it in the beginning. Apparently trying on pillowcase dresses is a traumatic experience, but with the promise of a sucker afterwards she relented and let me take a couple of pictures. They are not the best photos, but I was not going to push it.

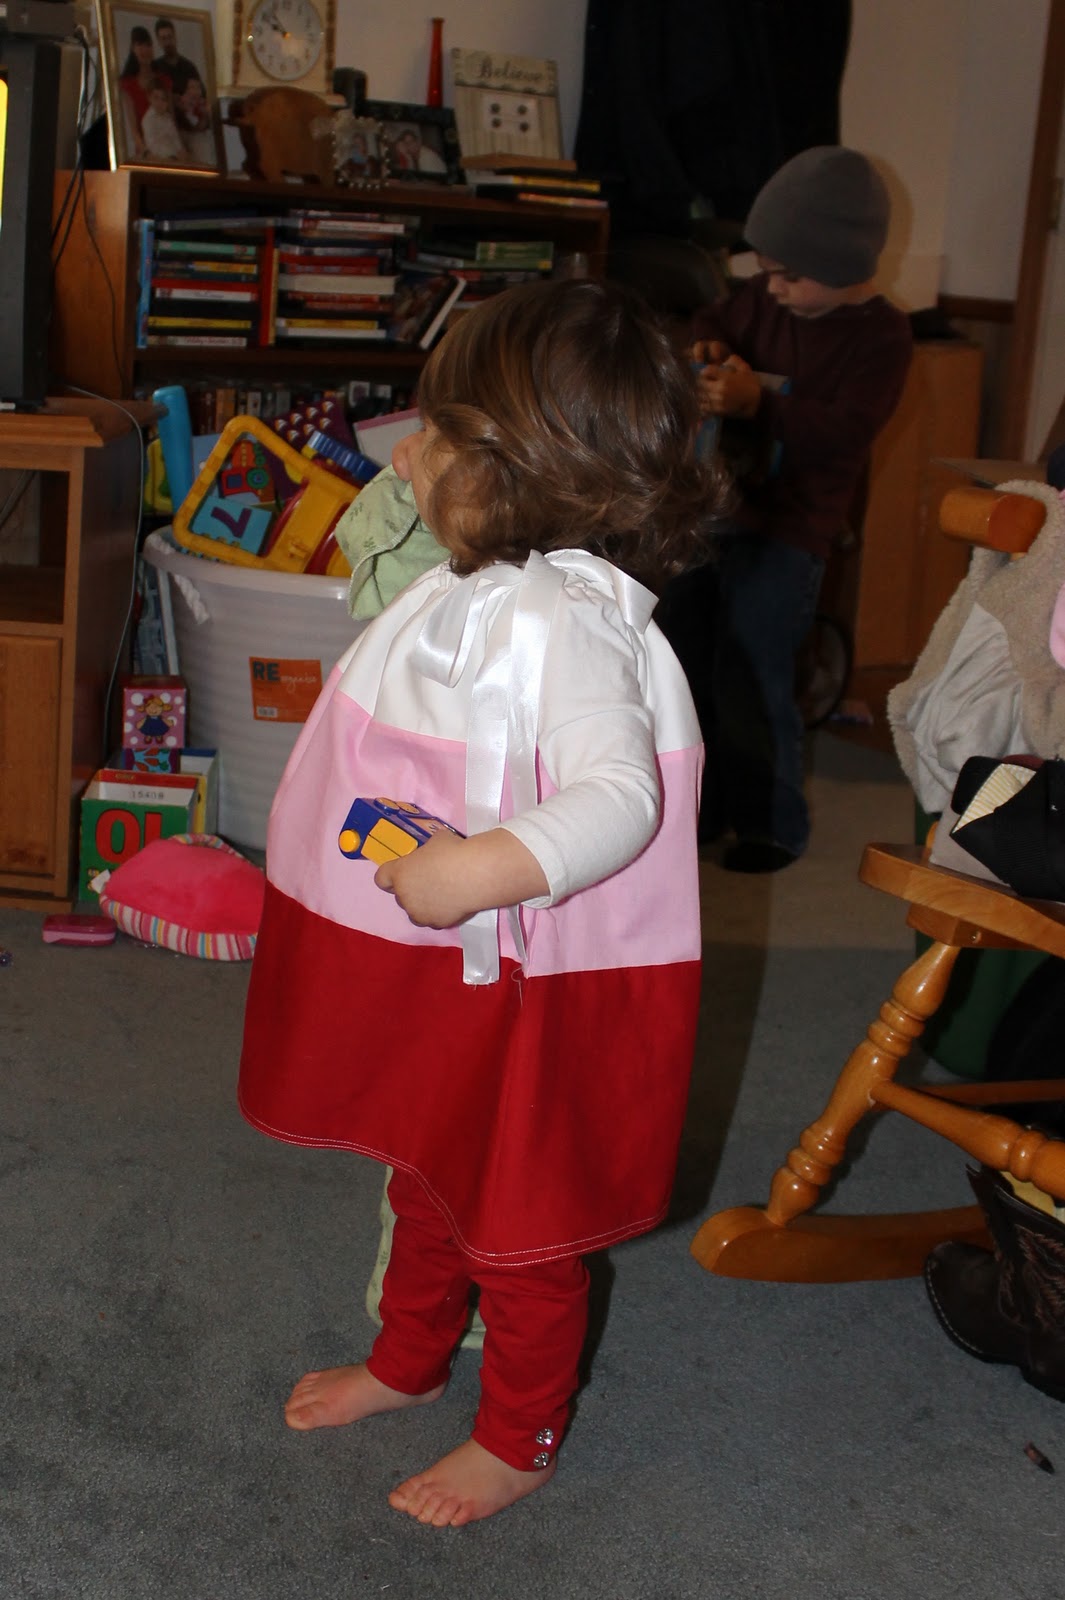
Finally, a pillowcase dress that is not too small or too short. It turned out to be a good length and it fits he upper torso much better than the previous two. It is kind of billowy. Better billowy than too small though.
I found those adorable leggings at Wal-Mart. Even though they were with the Valentine's day clothing they are really Christmas leggings and all christmas stuff was half off of the sale price. Leggings total = $1.25. Yes!
There you go. A Valentine's Day Pillowcase Dress for that special little girl in your life.
Happy Sewing!
-Jackie


