It's cute, easy, and functional!
1. Gather your material. Cut fabric to the sizes you need. Make some rectangles for pockets (optional).
Red and white fabric are cotton. The black and white print is vinyl with a fuzzy back. Canvas-type fabric for handles, and bias tape. Ready to start.
Vinyl and white cotton fabric measures: 12 inches by 13 inches.
Red fabric measures: 4.5 inches by 13 inches.
Pocket pieces measure: Varies depending on what you are putting in them, like your phone or keys so measure those items and see how big you would want to make them.

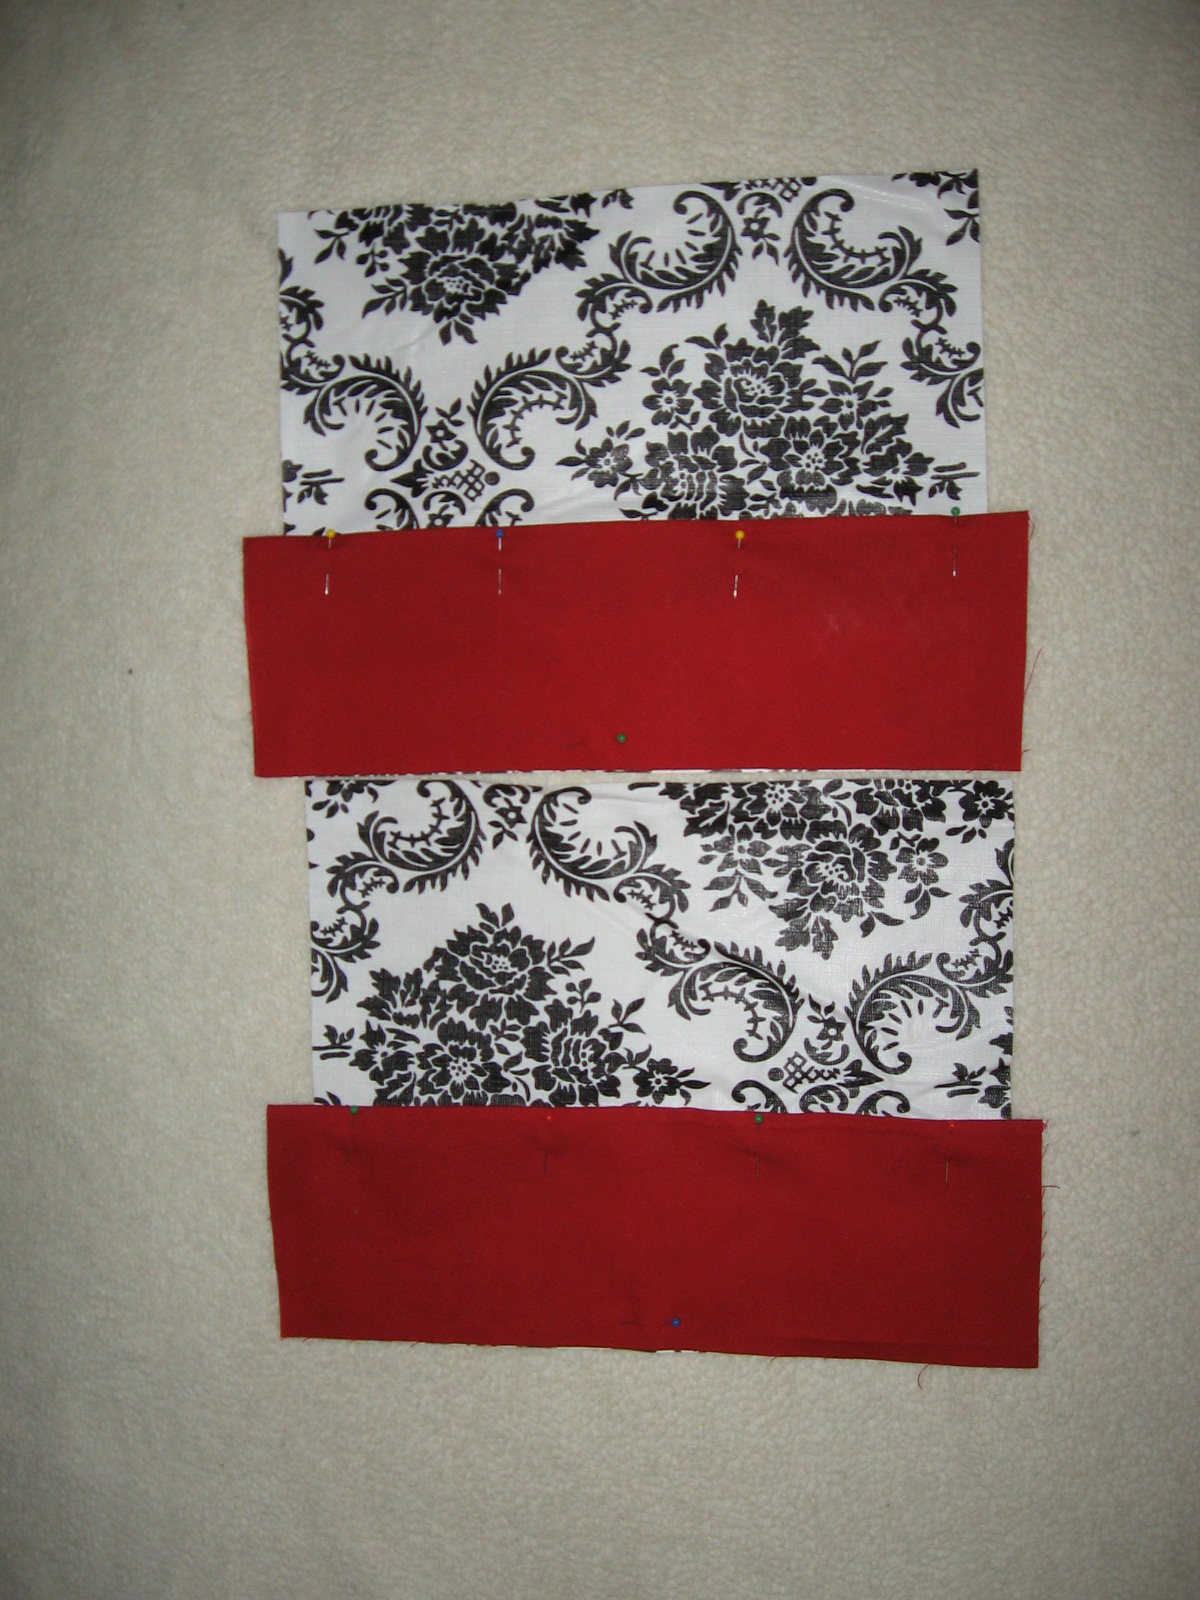
2. Serge on one long side of the red fabric. Then iron it over so that it can not be seen. It provides me with a straight line to sew to the vinyl. You can just iron it over a 1/4 inch if you do not want to serge or do not have a serger. Pin the red fabric on top of the vinyl matching the sides and bottom of both pieces. Hopefully they are straight from cutting earlier. Sew the red fabric to the vinyl. I sewed a 1/4 inch down from the red fabric to catch my serge line for attaching.
3. Sew pockets pieces to white lining fabric. Attach pocket pieces about 3 inches from the top. The smaller pocket on the bottom is further down and when the project was completed it was almost on the bottom of the bag. But it still works.

4. Stack all four pieces (outer and inner pieces) together and cut notches on the left and right bottom corners. Cut them at about 1.5 inch square.

5. Sew the white lining, right sides together, on both sides and at the bottom. Then, sew the corner pieces matching the opposite corners together to complete the bag. Match the outside corners together to make a straight line by pulling the panels apart at the inside corner until the outside corners touch. Sew a 1/4 inch hem to make it look more like a bag. Do the same thing to the outer fabric (the vinyl pieces).

6. Create handles from matching or contrasting fabric, or leftover scrap fabric, or ribbon or whatever you wish. I used black canvas-like cotton fabric. It measured approximately 6 inches wide by 15 inches long, or however long you would like, to start with. Make as long or as short as you like. I ironed the fabric in half and the folded the fabric to the middle (fourths) and ironed it again. Then, folded the fabric at the middle so that it would make sturdy handles. I sewed the handles using a 1/8 inch stitch on the right and left sides. I stuffed the white lining inside the outer shell, wrong sides together, matching the corners and side seams. I added bias tape around the top of the bag to finish it off.

Complete!

Here, I added the handles to the inside of the bias tape (then sewed the bottom bias tape) and folded the handles over the top of it so it would have a clean edge underneath; so when I sewed the bias tape around the top it also sewed the handles to the bag. Just trying to save a step.

Be sure to match up your seams so that you don't have this when you are done with it. Maybe add some ribbon or rick rack around the seam to hide mistakes?

Cute!

Without monogram and with monogram.
Enjoy!